Curing the Harvest: Storing Onions, Garlic, & Squash
A technical guide to the biological curing process that extends the shelf life of your heavy-yielding crops.
1. Introduction: The Art of the Cure
Harvesting a massive crop of onions or pumpkins at the Evergreen Hideout is a moment of great success, but the work does not end when the vegetable leaves the vine. If you move these crops directly into a dark cupboard or refrigerator immediately after picking, they will likely rot within weeks due to trapped moisture and thin skins. Curing is the technical process of allowing the outer layers of the vegetable to dry and harden, creating a biological seal that protects the nutrient-dense flesh inside. This transition from "fresh" to "cured" is what allows us to eat our own Soshanguve-grown produce for six months or more after the growing season has ended.
To understand the stakes, consider what happens without curing:
- Rapid Spoilage: Uncured vegetables release moisture into a confined storage space, creating a perfect environment for mold and bacterial growth.
- Soft Rot: The skin, too thin to act as a barrier, allows pathogens to enter, leading to a complete loss of the vegetable from the inside out.
- Flavor Degradation: Starches do not convert to sugars, and flavors can become bitter or bland.
Biological defense: curing forms a natural protective layer that guards against rot and bacterial infection during storage.
In our local climate, we have the advantage of dry winter air, which is the perfect environment for a successful cure. This process is especially important for crops grown in high-fertility environments. Plants that have been fueled by the microbial life from setting up a DIY worm farm often produce larger, more hydrated cells that require a careful drying period to stabilize for storage. Without this step, even the most beautiful harvest can be lost to fungal pathogens that thrive on the surface of uncured vegetables.
2. The Science: Why Curing Works
Curing is essentially a controlled dehydration of the plant's outer skin. For onions and garlic, the neck of the bulb must dry completely to prevent "neck rot" from entering the center of the vegetable. For pumpkins and winter squash, the curing process allows the starches within the fruit to convert into sugars, which not only improves the flavor but also thickens the rind. This thickened rind acts as a physical barrier against the insects we manage using the techniques in the organic pest master manual, as most pests cannot penetrate the hardened "armor" of a well-cured squash.
The key biological changes during curing are:
- Water Evaporation: Moisture slowly migrates from the inner flesh and evaporates through the skin.
- Skin Lignification: The outer cell walls harden and become cork-like, sealing the interior.
- Metabolic Shift: Respiration rates slow dramatically, putting the vegetable into a dormant state ideal for storage.
- Sugar Conversion: Enzymes break down complex starches into simple sugars, enhancing sweetness and nutrition.
This process is the bridge between the high-growth phase of the garden and the survival phase of the winter pantry. By respecting the biological requirements of each crop, you are ensuring that the energy you invested into the soil remains available to your family. This efficiency is a cornerstone of the Hideout philosophy, where we aim for zero waste through technical mastery. The better the soil health established by engineering deep fertility with the trench method, the more minerals the plant has available to build these strong, protective outer layers during the curing phase.
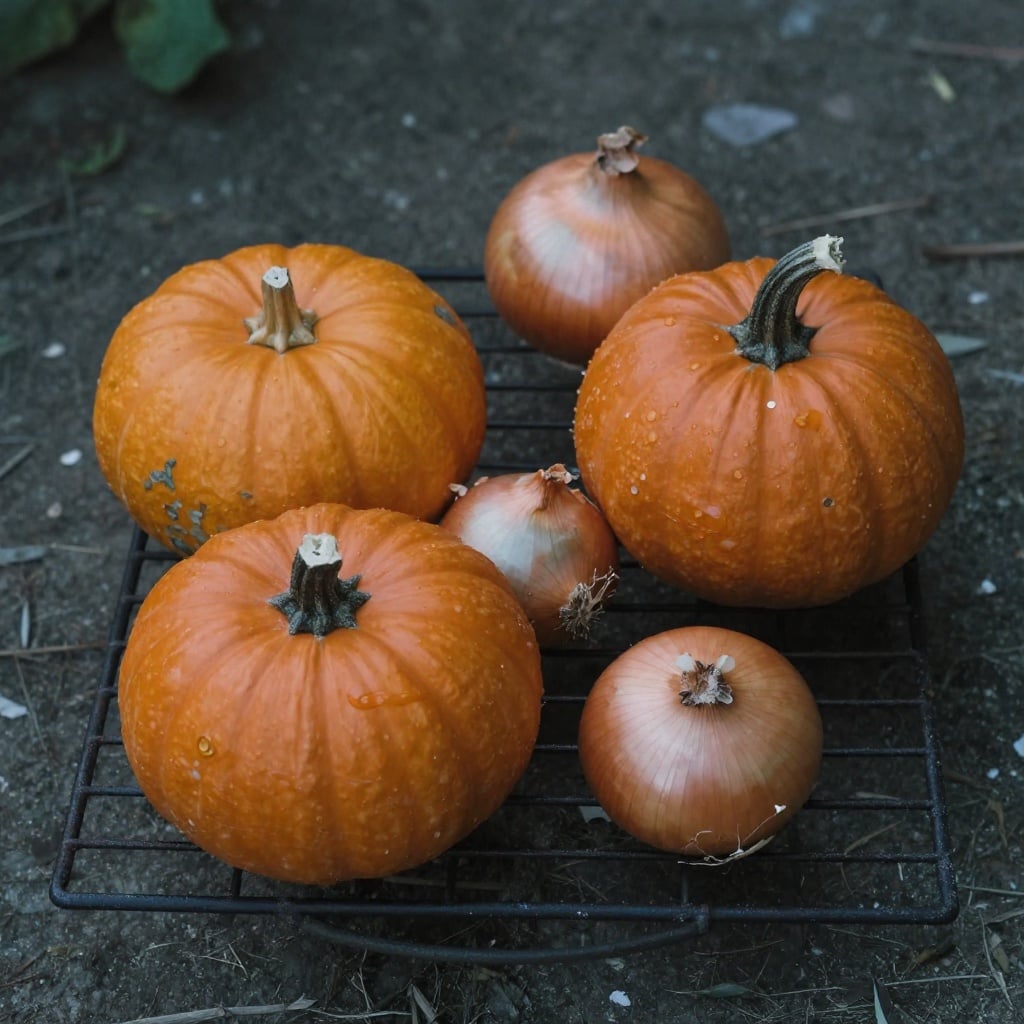
3. Technical Steps for Onions and Garlic
The curing process for Alliums begins a week before you actually pull them from the ground. Once the green tops begin to fall over and turn yellow, stop watering the bed entirely to allow the outer skins to start drying in the soil. After lifting the bulbs, do not remove the roots or the foliage immediately. Lay them out in a single layer in a well-ventilated, shaded area—never in direct, blistering sun, which can "cook" the bulbs. They need a steady flow of air for two to three weeks until the outer skins feel like paper and the roots are brittle and dry to the touch.
Critical Success Factors for Allium Curing:
- Timing: Harvest on a dry morning after several rain-free days.
- Handling: Avoid bruising or cutting the bulbs during harvest; any wound is a potential entry point for rot.
- Setup: Use slatted racks, old window screens, or hang in bunches to maximize airflow on all sides.
- Environment: Ideal conditions are 24-29°C with 65-70% humidity and constant, gentle air movement.
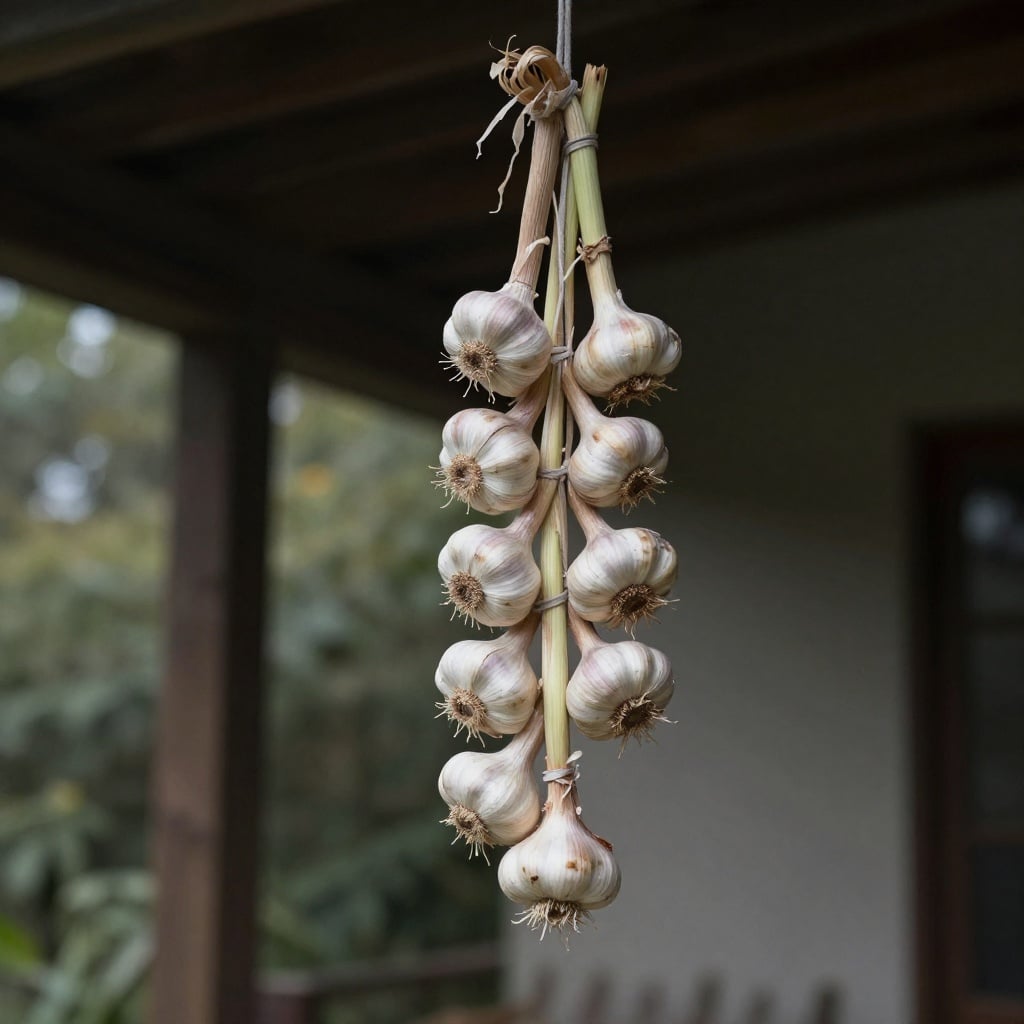
Airflow is everything: hanging your harvest ensures 360-degree ventilation, preventing mold and ensuring proper curing.
Once the curing is complete, you can trim the roots and cut the tops to about two centimeters above the bulb. If you cut the neck too short before it is fully dry, you risk introducing pathogens into the heart of the onion. Stored in mesh bags in a cool, dark place, properly cured onions and garlic can last until the following spring. This long-term storage is a vital component of our seed strategy, as it allows us to select the best-keeping bulbs for replanting, a core concept in our guide to seed saving essentials.
Storage Checklist:
- Ensure bulbs are fully cured (papery skin, brittle roots, firm flesh).
- Trim neatly, leaving a 2cm neck.
- Sort and use any damaged bulbs immediately.
- Place in mesh bags, woven baskets, or nylon stockings.
- Store in a dark, cool (4-10°C), dry, and well-ventilated location.
- Inspect monthly, removing any soft or sprouting bulbs.
4. Technical Steps for Squash and Pumpkins
Pumpkins and squash require slightly warmer temperatures for curing compared to onions. After harvesting—making sure to leave at least five centimeters of stem attached—place them in a spot that stays between twenty and twenty-five degrees Celsius for ten days. The stem acts as a handle and a seal; if it breaks off at the base, the fruit will likely rot within days. During this period, the rind will harden to the point where it cannot be easily dented with a fingernail. This is the indicator that the internal moisture is locked in and the vegetable is ready for long-term storage in a cool, dry pantry.
Essential Harvest & Curing Protocol for Squash:
- Harvest: Cut from the vine with sharp pruners, leaving a 5-10cm stem ("handle"). Never carry or lift by the stem itself.
- Clean: Gently wipe off any soil with a dry cloth; do not wash.
- Initial Inspection: Cure only unblemished fruit. Use any with cuts, bruises, or soft spots immediately.
- Cure: Arrange in a single layer with space between them in a warm (21-27°C), dry, well-ventilated spot for 10-14 days.
- Test: The cure is complete when the rind is uniformly hard and the stem is dry and woody.
Check your stored squash weekly for any soft spots. If one starts to turn, remove it immediately to prevent the rot from spreading to the rest of the harvest. A well-cured Hubbard or Butternut squash can sit on a shelf for up to six months, providing a steady source of carbohydrates and vitamins throughout the winter. By mastering this simple technical intervention, you are securing your yield for the hungry months and ensuring that the Evergreen Hideout remains a place of abundance regardless of the weather outside.
5. Summary and Your Next Move
Curing is the final act of the harvest that transforms a perishable vegetable into a long-term staple. By understanding the biology of dehydration and skin hardening, you can significantly reduce food waste and increase your homestead's self-sufficiency. It is a slow, patient process that pays dividends every time you pull a firm, sweet pumpkin from your pantry in the middle of winter. The transition from gardener to master of the harvest is complete when you can feed your family from your stores as easily as you can from your garden beds.
Key Takeaways for Your Next Harvest:
- Plan Ahead: Know your crop's specific curing needs before you harvest.
- Prioritize Environment: Secure a dry, ventilated space for Alliums and a warm, dry spot for squash in advance.
- Patience is a Tool: Rushing the trim or moving to storage early is the most common cause of failure.
- Integration: View curing as the critical link between your soil work, your harvest, and your seed-saving goals.
How do you store your harvest? I want to hear about your successes and failures with vegetable storage. Have you ever had a whole crop of onions rot because you cut the necks too early, or have you discovered the perfect spot in your house for curing pumpkins? Share your tips and your storage questions in the comments below, and let us help each other build the most resilient winter pantries in Soshanguve!