Pumpkin and Butternut: Hand-Pollination Secrets for Massive Squash
A technical manual for managing monoecious flowering and ensuring fruit set through manual intervention.
1. Introduction: The Giant of the Garden
In the Evergreen Hideout, pumpkins and butternuts are the heavyweights of the summer harvest. These vigorous vines are capable of colonizing large areas and producing massive, calorie-dense fruits that can be stored for months. However, many gardeners in Soshanguve find themselves frustrated when their healthy-looking vines produce dozens of flowers but very little fruit. This failure is often not a result of soil quality, but a breakdown in the pollination cycle. Because squash plants produce separate male and female flowers on the same plant—a condition known as being monoecious—they rely entirely on external agents to move pollen. When the local bee population is low or the weather is too humid, you must step in as the primary pollinator to ensure a successful harvest.
Our local climate presents unique hurdles for natural pollination. Summer heatwaves can cause pollen to become sterile, while high humidity makes it clump together, preventing it from flowing freely. Furthermore, intense afternoon thunderstorms can wash pollen away or keep pollinators in their hives. Recognizing these environmental barriers is the first step to justifying and perfecting the hand-pollination protocol—it's not a backup plan; it's often the primary plan for a guaranteed set.
Biological Efficiency: Turning sunlight and soil minerals into storable calories.
Success with these heavy feeders begins with deep-seated fertility. A single pumpkin vine can grow up to ten meters in length, requiring a massive amount of energy to maintain its vascular system and expand its fruit. This is why squash are the premier choice for planting directly over areas where you have implemented engineering deep fertility with the trench method. The decaying organic matter provides consistent moisture and nutrient density required to prevent the fruit from "aborting" during mid-summer heatwaves. By combining this deep fertility with biological stimulants from your DIY worm farm, you give your vines the hormonal support needed for rapid expansion.
The trench method isn't just about nutrients; it's about creating a consistent water reservoir. Squash fruit are over 90% water. A fluctuation in soil moisture during fruit expansion is a primary cause of cracking or abortion. The trench, filled with spongy organic matter, acts as a buffer against our irregular summer rains and dry spells, providing the steady uptake needed for smooth, continuous growth. This is Soil Biology in action, creating the physical conditions for horticultural success.
2. Why This Topic Matters: The Pollination Gap
The primary reason squash fail to set fruit is a lack of "pollen load." A female squash flower is only open for a few hours on a single morning. If a bee does not visit that flower at least ten to fifteen times during that window, the fruit will not be fully pollinated and will rot off the vine within days. This "pollination gap" is exacerbated by the use of chemical pesticides in neighboring gardens, which kills the native pollinators we rely on. By following integrated strategies that respect the life cycle of beneficial insects, we protect our beneficial insects, but hand-pollination provides technical insurance needed for a guaranteed crop.
Understanding what happens to an under-pollinated fruit helps you diagnose the problem early.
- The Process: The female flower is pollinated, and the small fruit (ovary) begins to swell. If insufficient pollen grains reached the stigma, only the sections of the fruit corresponding to those fertilized ovules will develop. The rest remains small.
- The Result: The fruit becomes lopsided, shrivels at one end, turns yellow, and rots off within 7-10 days. This is often mistaken for "blossom end rot," but it's a pollination failure.
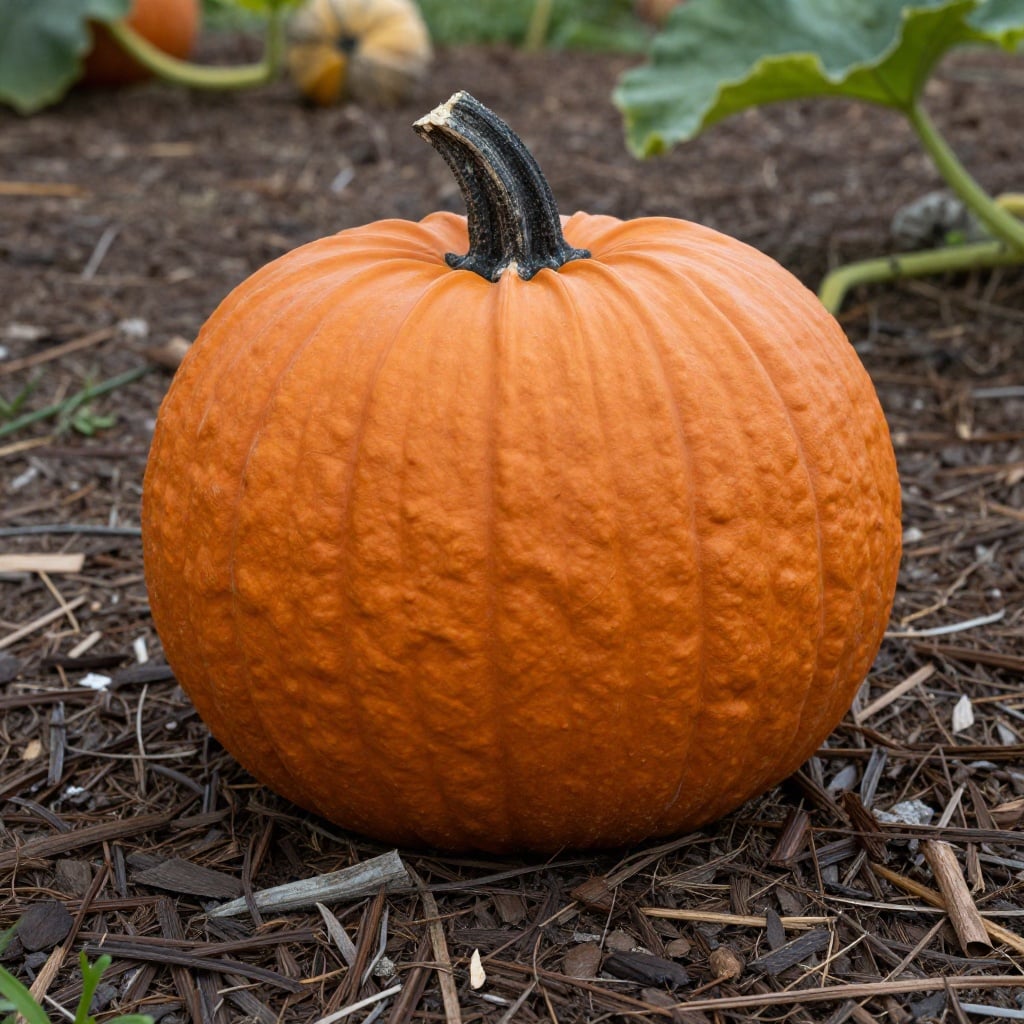
- The Key Insight: A fully pollinated squash fruit will be uniformly green and swell rapidly in all directions within 48 hours.
Understanding the anatomy of your squash flowers is the first step. Male flowers grow on long, thin stalks and contain a central stamen covered in yellow pollen. Female flowers are easily identified by the "baby fruit" or ovary located at the base of the petals. If the pollen from the male does not reach the stigma inside the female flower, that baby fruit will never develop. This biological requirement is why we must observe our vines daily during the flowering phase. This attention to detail is what separates a casual gardener from a technical steward of the Hideout, ensuring that no flowering window is wasted due to environmental factors.
Squash plants produce far more male flowers early on to attract pollinators before committing energy to fruit. Don't panic if you see only males for the first week or two.
- Trigger for Females: Female flower production is triggered by day length, plant maturity, and stress. A well-established vine with plenty of leaf area is more likely to produce females. Slight root restriction (being slightly pot-bound before transplant) can also encourage earlier female flowering.
- Identifying True Females: The ovary at the base of a female flower looks like a miniature version of the mature fruit. Male flowers have a straight, thin stem. The female stigma inside the flower is multi-lobed and sticky; the male anther is a single, pollen-coated structure.
- Daily Scouting Protocol: Each morning during the flowering season, walk your squash patch. Look for newly opened flowers—they are turgid and bright yellow. This is your 2-4 hour window for action.
3. The Technical Protocol for Hand-Pollination
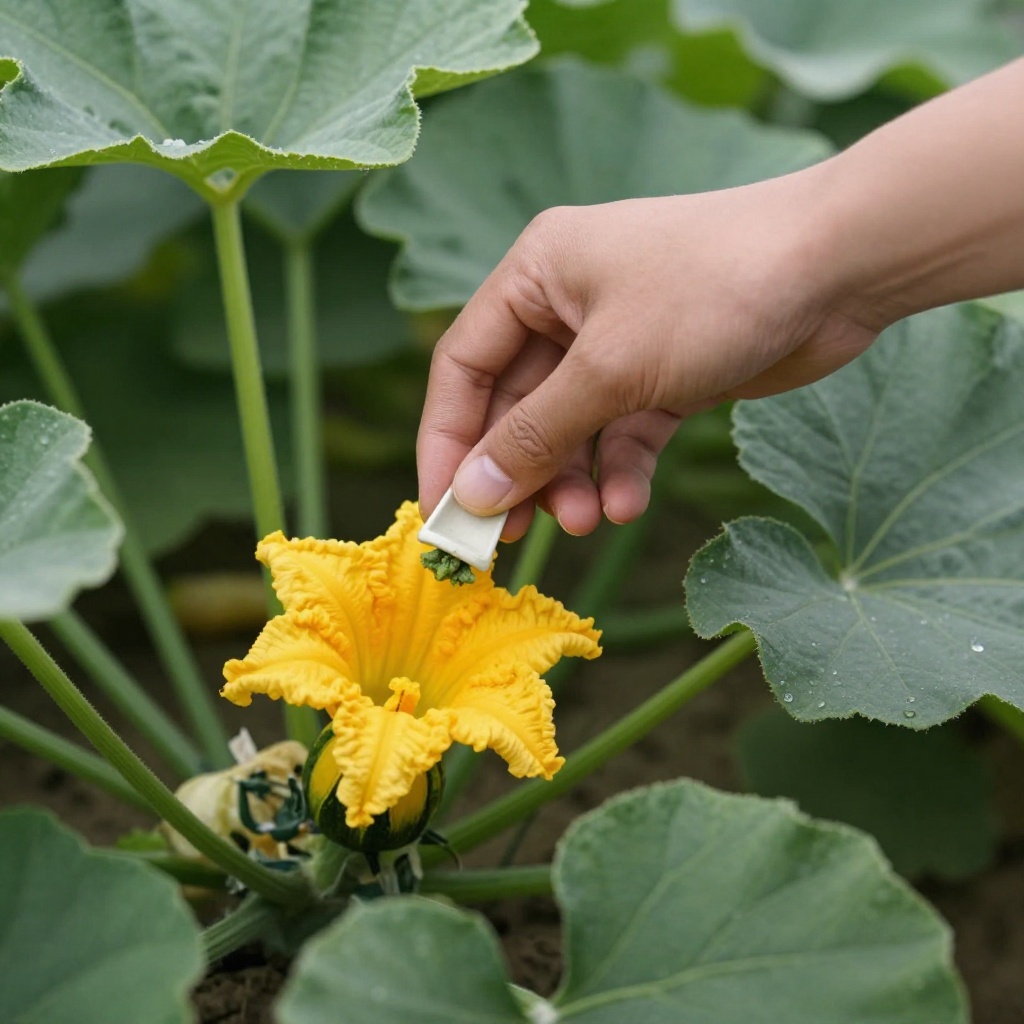
To hand-pollinate, you must head into the garden in the early morning, usually between 06:00 and 09:00, while the flowers are fully open. Identify a freshly opened male flower and a freshly opened female flower. Pluck the male flower and carefully peel away its petals to expose the pollen-heavy stamen. Use the stamen like a paintbrush to thoroughly coat the multi-lobed stigma inside the female flower. This manual transfer ensures a high pollen load, which leads to better seed development and, consequently, a larger and more uniform fruit. Once pollinated, you can even gently tie the female flower shut with a piece of grass to prevent other insects from interfering or moisture from washing pollen away.
Elevate this from a task to a precise ritual for 100% success.
- Timing is Absolute: Be in the garden by 7:00 AM. Flowers begin closing by 10:00 AM and are usually shut by noon. Pollen is most viable in the early morning cool.
- Select Your Donor: Choose a male flower from a different, healthy vine if possible to promote genetic vigor. The pollen should be dry, fluffy, and bright yellow.
- The "Paintbrush" Technique: Peel the petals back from the male flower to fully expose the anther. Gently brush it over every lobe of the female stigma. Don't be shy; apply copious amounts of pollen. You can use one male to pollinate 2-3 females.
- Marking Your Work: After pollination, tie a piece of brightly colored yarn or ribbon around the stem of the pollinated fruit. This allows you to track its development and know not to remove it during thinning.
- The "Close the Flower" Debate: Tying the flower shut can help in very humid or rainy conditions but is often unnecessary. The critical work is done once pollen contacts the stigma. Focus your effort on perfecting the transfer.
Precision Intervention: Manual pollination ensures a 100% fruit set rate regardless of bee activity.
Beyond pollination, spatial management is critical. Squash vines should be encouraged to grow over a thick layer of "Soil Armor" as described in our guide on using maize stalks and grass mulch. This prevents the developing fruit from sitting directly on damp soil, which can lead to rot or pest entry. As the vines grow, you can "pin" them down at certain nodes and cover them with a handful of compost; this encourages the vine to grow adventitious roots, creating a secondary "pumping station" for nutrients and water. This technical layering trick significantly increases the vigor of the plant and allows it to support multiple large pumpkins on a single vine.
Turn your sprawling vine into a managed, high-efficiency system.
- The Primary Vine Method: Identify the main vine growing from the base. Gently train it in the direction you want it to grow. Pin down (with a U-shaped wire or stone) every 4-6 leaf nodes, burying that node under a mound of compost. Each buried node will root, creating a secondary feeder system.
- Fruit Placement: Encourage fruit to set on the main vine, 1-2 meters from the base. Fruits set on laterals are often smaller. Place a flat stone or piece of wood under each developing fruit to keep it off damp mulch and prevent soil-borne rot.
- Pruning for Size: If growing for maximum size (e.g., competition pumpkins), once 2-3 fruits are set and successfully pollinated, prune off the growing tip of the vine. This halts vine expansion and directs 100% of energy into fruit bulking.
4. Targeted Fertigation and Fruit Thinning
Once your squash has successfully set fruit, the plant's nutritional demands shift from leaf production to sugar accumulation. To support this, we use a targeted "fertigation" routine. We apply nitrogen-rich "Liquid Gold" from our manure tea recipes during the early vine growth, but once the fruit is the size of a tennis ball, we switch to a potassium-heavy comfrey tea. This potassium is essential for moving the starches into the fruit, ensuring a sweet, dense flesh.
Feed the plant what it needs, when it needs it, based on its physiological stage.
- Stage 1: Vegetative Growth (Weeks 1-4): Focus on nitrogen and phosphorus for vine and leaf development. Apply diluted worm tea or manure tea weekly.
- Stage 2: Flowering & Early Fruit Set (Weeks 5-7): Reduce nitrogen. Apply a balanced fertilizer or compost tea to support both flower production and initial fruit cell division.
- Stage 3: Fruit Bulking (Week 8 to Harvest): This is the potassium phase. Apply comfrey tea (soak chopped comfrey leaves in water for 2 weeks) or wood ash tea (steep a handful of ash in 10L water for 48 hours, strain) every 10-14 days. Potassium regulates water movement and sugar transport into the fruit.
If you are aiming for "massive" squash rather than "many" squash, you must perform fruit thinning. A single vine can usually only support two or three high-quality pumpkins to full maturity. By removing any late-forming fruits, you force the plant to direct all its moisture and minerals into the primary squash you have already pollinated. This technical sacrifice results in much larger, more impressive specimens. When the stem attached to the fruit turns woody and begins to crack, the squash is ready for harvest. Store them in a cool, dry place to "cure," which allows the skin to harden and the sugars to fully develop, providing the Evergreen Hideout with a reliable food source throughout the winter months.
Thinning is a strategic decision that balances yield with quality and size.
- The Rule of Thumb: For large pumpkins: 1-2 fruits per plant. For butternuts: 3-5 fruits per plant.
- How to Choose: Select the fruits that are most perfectly formed, have the thickest stems, and are located on the main vine. Remove misshapen, damaged, or later-setting fruits by cutting them off with secateurs.
- Timing: Thin when fruits are about the size of a grapefruit. Earlier thinning allows the plant to redirect energy sooner.
- The "Curing" Process: After harvest, leave squash in the sun for 7-10 days to cure (butternuts) or in a dry, shaded, well-ventilated space for 10-14 days (pumpkins). This process seals the stem scar, toughens the rind, and converts starches to sugars, which is the final, critical step for long-term storage as part of your Harvest & Storage pillar.
5. Summary and Your Next Move
Mastering pumpkins and butternuts is a journey of biological observation and manual intervention. By understanding the monoecious nature of the flowers and taking control of the pollination process, you eliminate the guesswork from your garden. Combining this with deep fertility and strategic vine management allows you to produce high-calorie harvests that anchor your food security. At the Evergreen Hideout, we treat every squash flower as a technical opportunity, ensuring that our labor in the soil is rewarded with the largest and most nutritious fruits possible.
Follow this checklist from planting to harvest for a guaranteed, massive yield.
- Pre-Planting: Prepare bed with trench method. Incorporate aged compost.
- Early Growth: Water deeply. Apply nitrogen-rich teas. Train main vine.
- Flowering Phase: Begin daily morning scouting for flowers. Execute hand-pollination ritual on every female bloom. Mark pollinated fruits.
- Fruit Set Phase: Apply potassium-rich comfrey/ash tea. Place support under fruits. Perform selective fruit thinning.
- Bulking Phase: Maintain consistent watering. Continue potassium feeds. Prune vine tip if growing for size.
- Harvest & Storage: Harvest when stem is corky and hard. Cure properly in a dry, airy space. Store in a single layer in a cool, dark place.
Are your vines flowering yet? I want to know if you have tried hand-pollinating your squash before or if you have been seeing baby fruits rotting off the vine. Are you planning to grow giant Boer-pompone for the winter, or are you focusing on high-yielding butternuts for small-space efficiency? Share your squash-growing stories and your pollination questions in the comments below. Let us work together to fill the Evergreen Hideout with a massive and successful harvest!